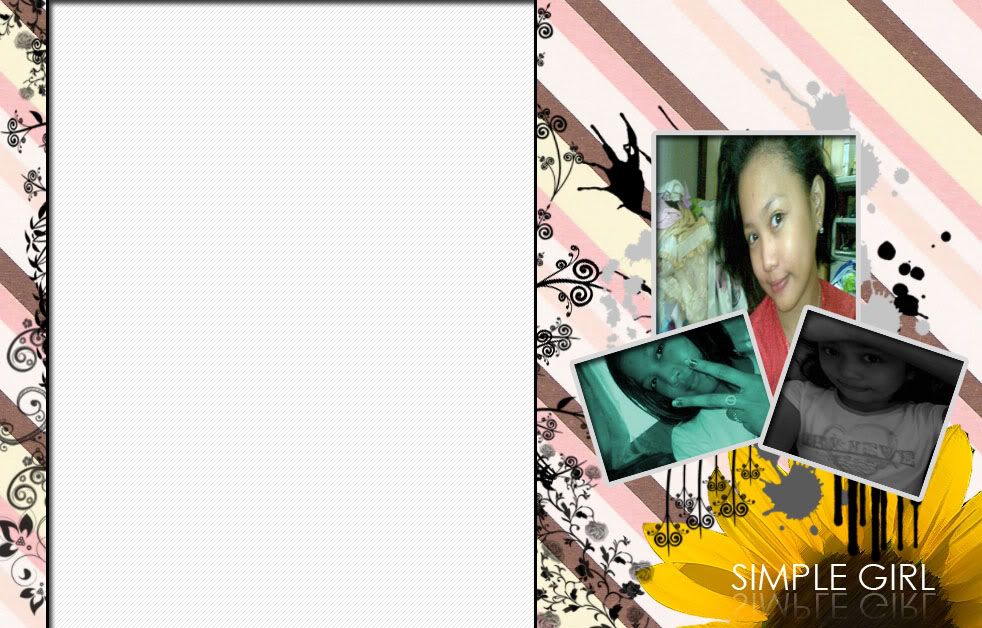
About Me

English French German Spain Italian Dutch Russian Portuguese Japanese Korean Arabic Chinese Simplified

this widget by www.AllBlogTools.com

Tuesday, January 12, 2010

Downloadable Wallpaper

Share


that's the only one that i created because i have an appointment to the president of our block. i have to go bye

Tuesday, January 5, 2010

Friendster Layout New Moon Saga

Share
While i'm surfing i saw a picture of Edward Cullens. Until i decided to create a another art.


and here is the code


{ Background Properties }
table, tr, td { background-color:transparent;}
body {
background-color:996633;
background-image:url('http://i49.tinypic.com/wukqhu.jpg');
background-attachment:fixed;
background-position:center center;
background-repeat:no-repeat;
}

.FreeCodeSource.com { Table Properties }
.commonbox {
border-style:solid;
border-width:2;
border-color:a37300;
background-color:transparent;
background-image:url('Enter Image URL');
background-repeat:repeat;
background-attachment:fixed;
background-position:top center;
}
.commonbox h1, .commonbox h2 {background-color:624500;}
.commonbox .evenrow {background-color:transparent;}

{ Text Properties }
.usercontent {font-family:arial !important; color:f4ac00 !important; }
.commonbox h1, .commonbox h2 {font-family:arial !important; color:f4ac00 !important; }
.data, .controlpanel .q {font-family:arial !important; color:f4ac00 !important; }

{ Link Properties }
.usercontent a, .usercontent a:link, .usercontent a:visited, .usercontent a:active {font-family:arial !important; color:f4ac00 !important; font-style:normal; }
.usercontent a:hover {font-family:arial !important; color:f4ac00 !important; font-style:normal; }

{ Button Properties }
#controlPanelButtons a, #controlPanelButtons a:link, #controlPanelButtons a:visited {color:f4ac00;background-color:transparent;border-color:transparent;font-family:arial !important; border-style:solid !important; }
#controlPanelButtons a:hover {background-color:transparent;border-color:transparent;}

{ Misc Properties }
.commonbox .dr {background-color:transparent;}}

Saturday, January 2, 2010

Wish that i granted

Share
Being a busy person this past holidays i don't have time to check my profile at facebook, friendster, twitter even my "blogs". Until i get a free time i decided to check those profiles of mine. Then when i checked my blog i saw a new comment at the chat box at my sidebar i don't know if that person is a boy or girl?!. I don't care what is the gender of that person the important is i have a new visitor at my blog.


This person asking about my post how to do it. Being this blog is a tutorial blog i decided to post a new tutorial.

Let's start the tutorial

First open the picture that you want to edit after opening the picture at photoshop duplicate it by hitting Ctrl+j. After duplicating the layer go to Image>Adjustment>Hue and Saturation. Change the Hue at +180 while the Saturation is -100.


After editing the Hue and Saturation let's go to the final step. Add a new layer then go to brush choose the soften circle brush, for me i used 300px. Then choose the color that fit to your art.


After putting the brushes change the Blending mode to overlay then that's it.


Sunday, December 13, 2009

Justin Bieber

Share

Justin Bieber is one of the most popular young artist in ameroca also whole over the world. He become popular at his song that titled "One Time". This song is very great. That's why i decided to make him as a model at my new design.

Tuesday, November 3, 2009

an inspiration

Share
i decided to post this one of my art's to inspired all of you guys to create a one beautiful photo manipulate...
so enjoy :)


Tuesday, September 15, 2009

simple animation

Share
♥♥♥animation♥♥♥
Photobucket
my friend requested to have a post about animation
using photoshop. As a friend her request i granted.


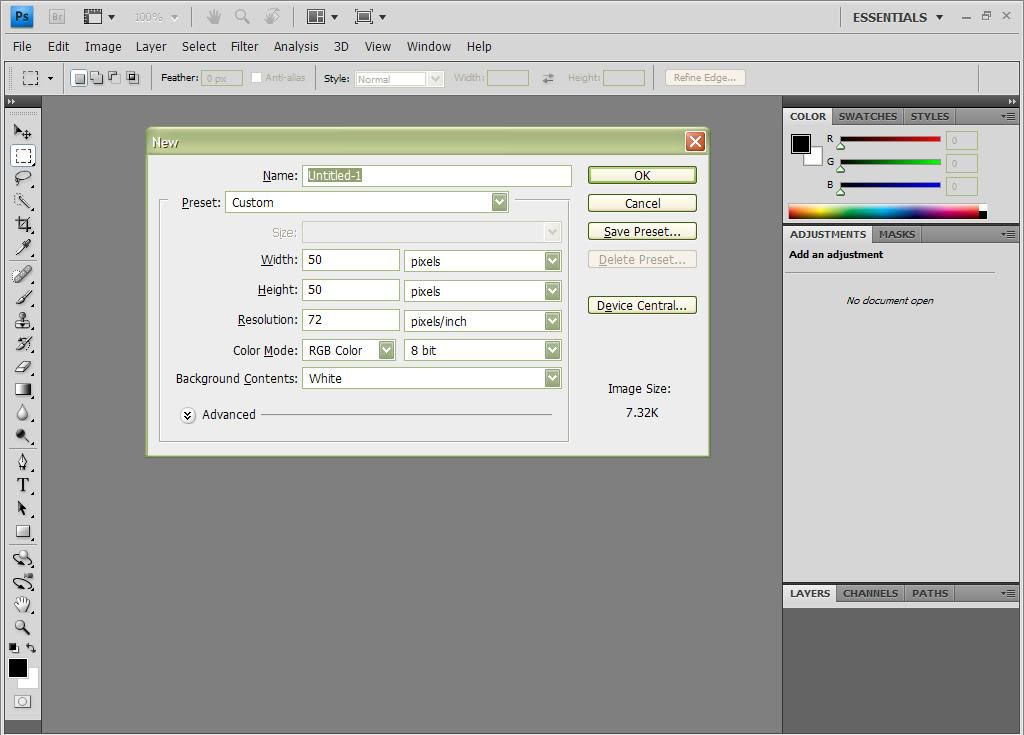
1. Open adobe photoshop and create a new
dpcument with your desire size.
I am going to use 50pixel by 50 pixel.

♥♥♥click here to see the image♥♥♥

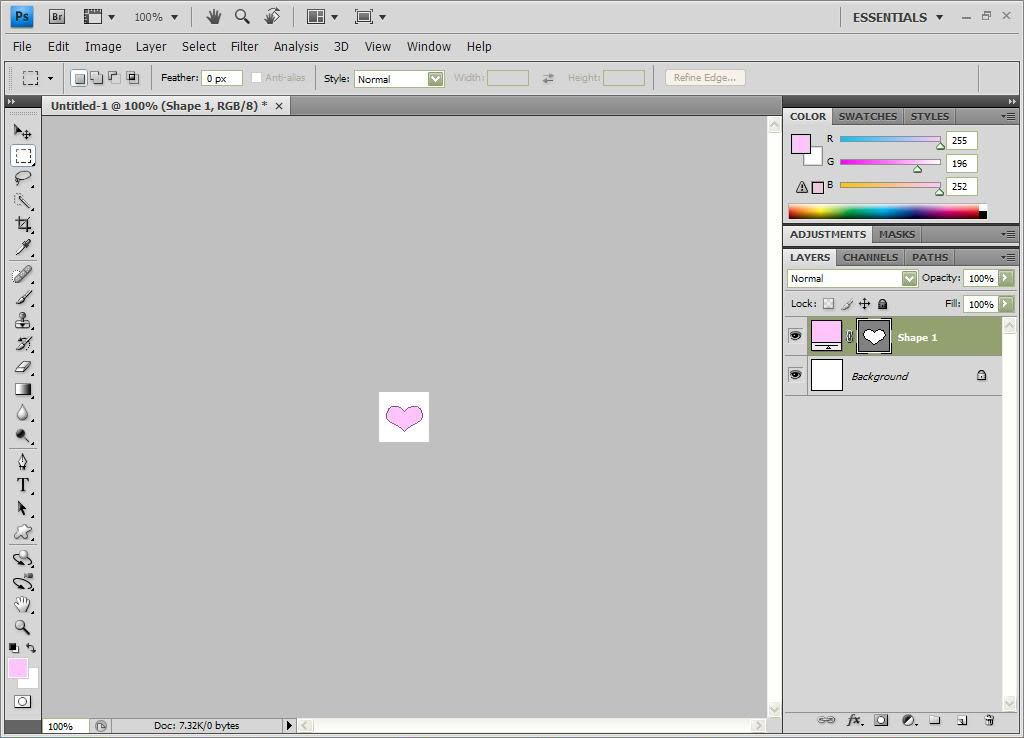
2.Create a new layer and put the design that you want to
apply to your desired document....

♥♥♥click here to see the image♥♥♥

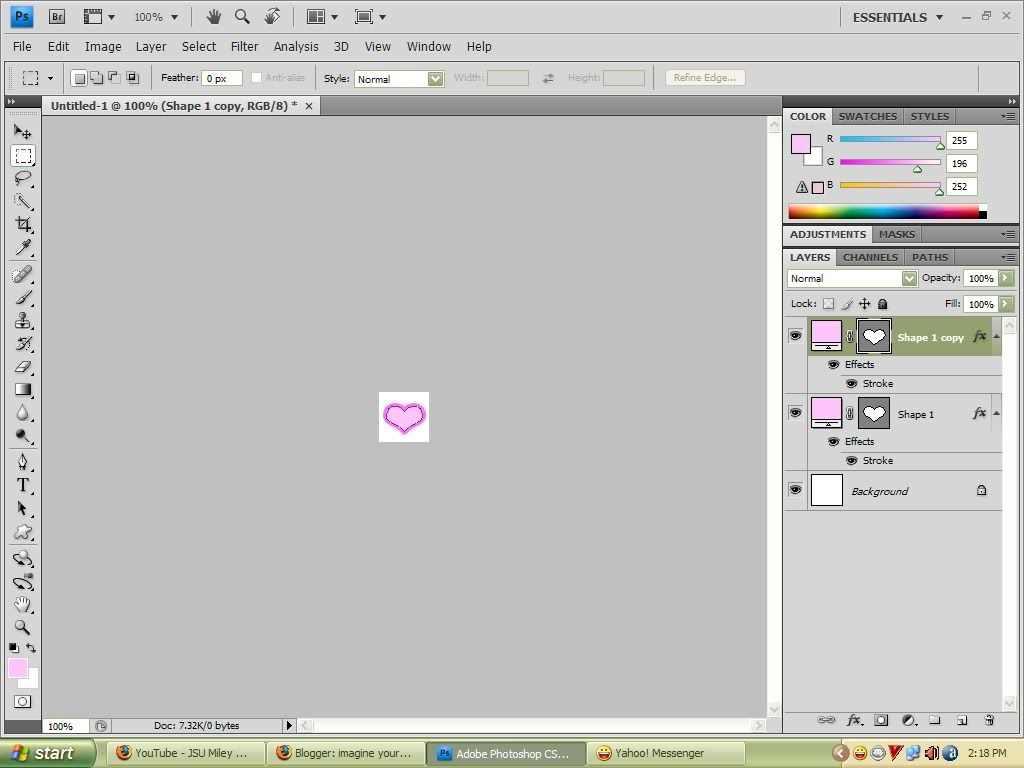
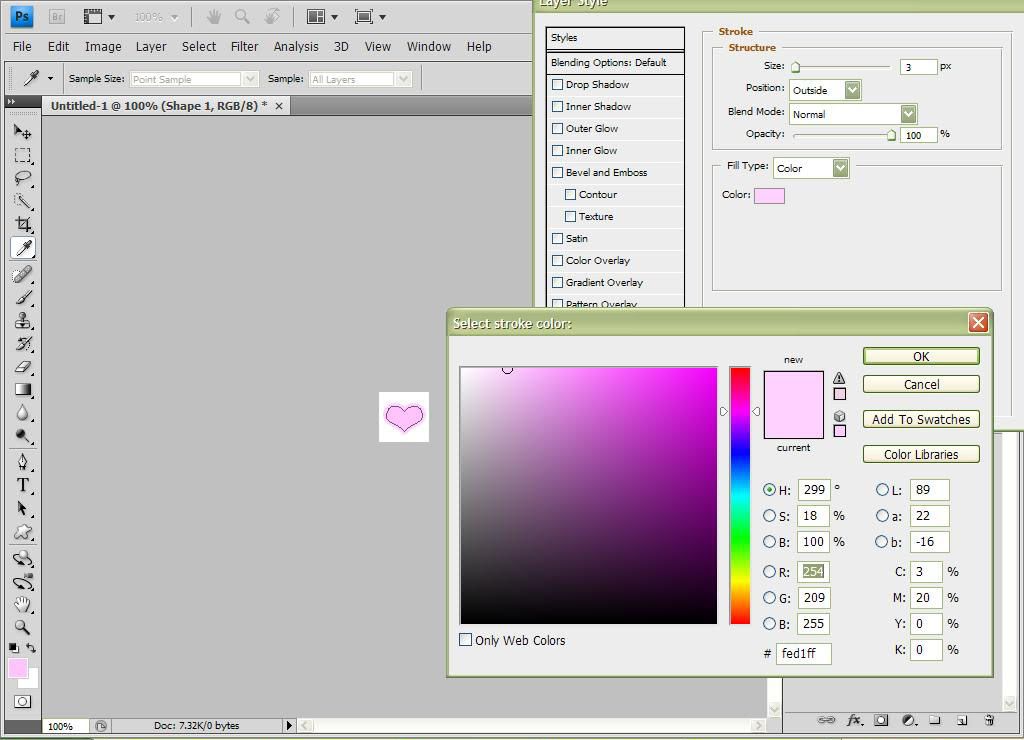
3. Put a stroke at your design with size of 3 pixels.
and duplicate the layer of your design.
Once your design is duplicated change the stroke from
light color to darken color.


♥♥♥click here to see the image♥♥♥

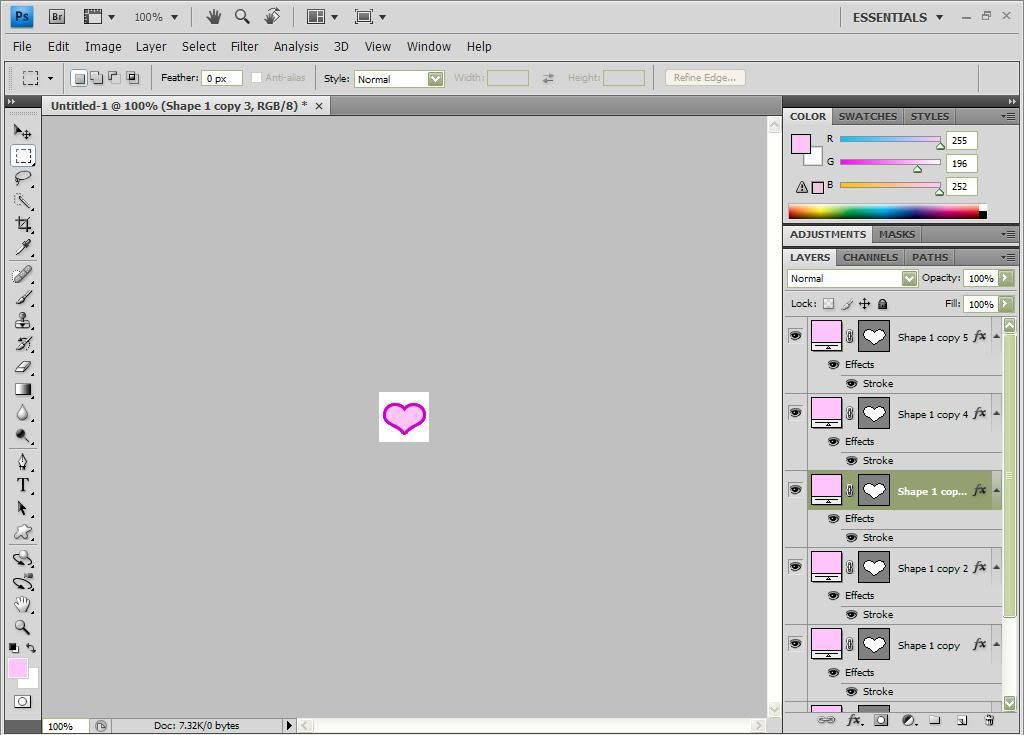
4.Now go to window and click the animation.
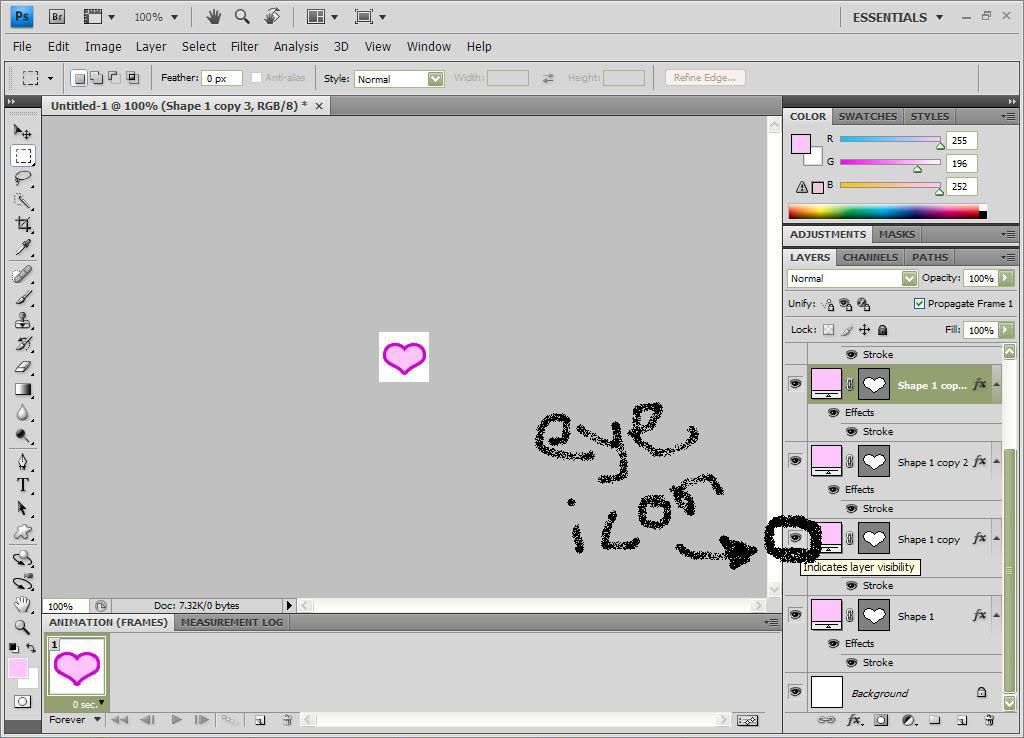
Click the eye icon to your layers except at the
first layer.

♥♥♥click here to see the image♥♥♥

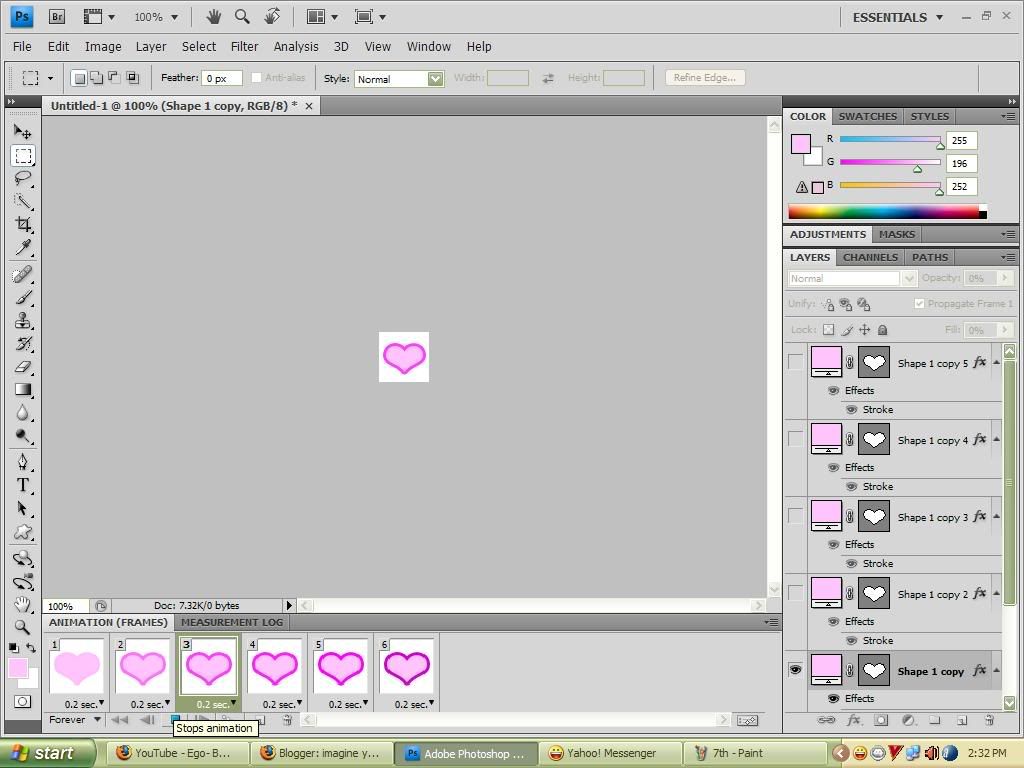
and follow this steps.

1.click here to see the image
2. make the step repeatedly until
you done.

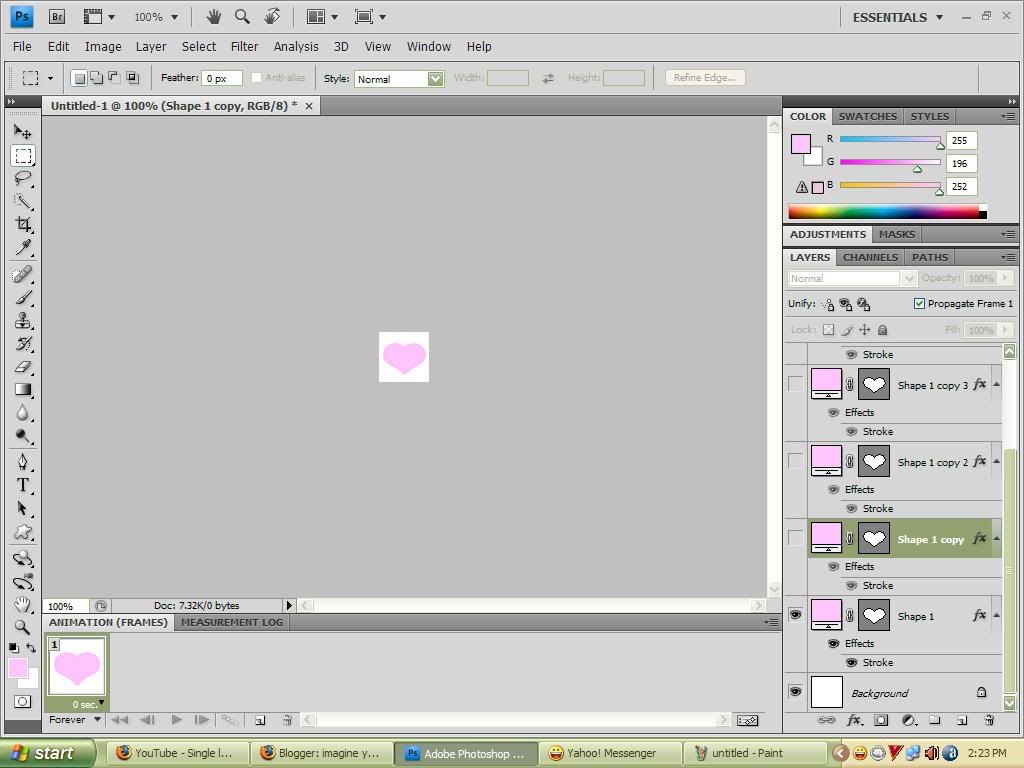
your layer should be like this..

♥♥♥click here to see the image♥♥♥

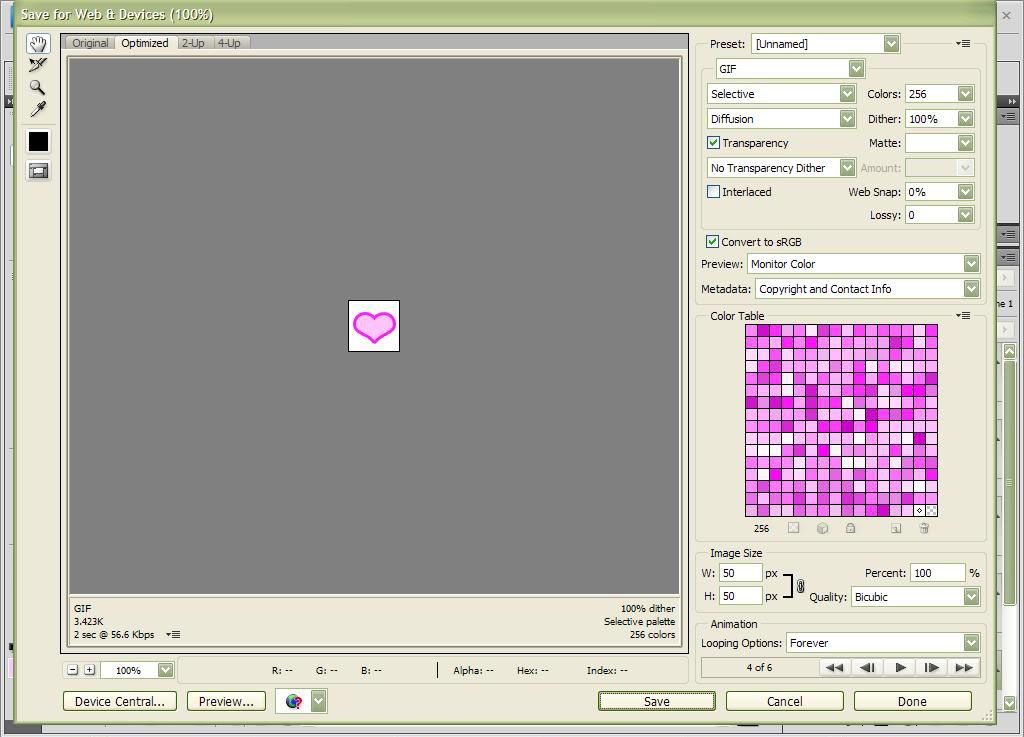
4.to save your animation go to
file>save for web & devices
and hit the save..

♥♥♥click here to see the image♥♥♥


Thursday, September 10, 2009

how to make a personalize friendster layout?

Share
♥♥♥friendster-layout♥♥♥

i know some of you spend your time to go at some web site
that offering their free friendster layouts.
But there is a time that you spend your time to search
to the layout that you want but you cant search the
layout that you want to put to your profile.

Here is my Tutorial to how to make a friendster layout that fits at your personality and creativity.

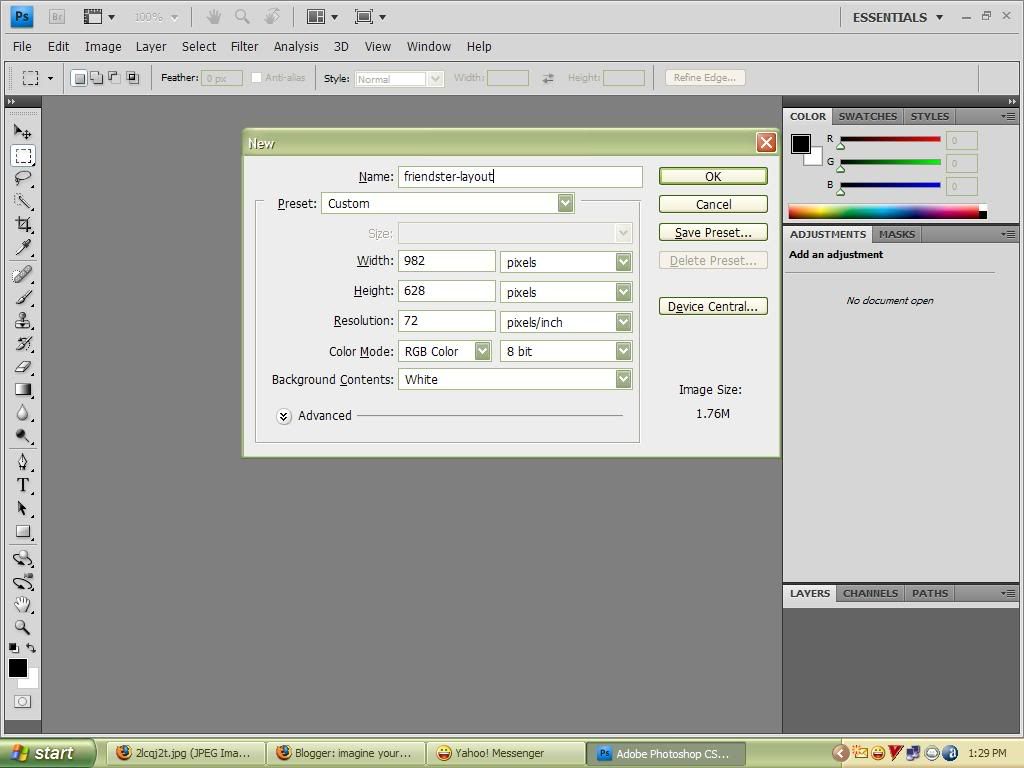
1. Open the adobe photoshop and create a new document
with size 982pixels by 628pixels.

here is mine.

♥♥♥click here to see the image♥♥♥

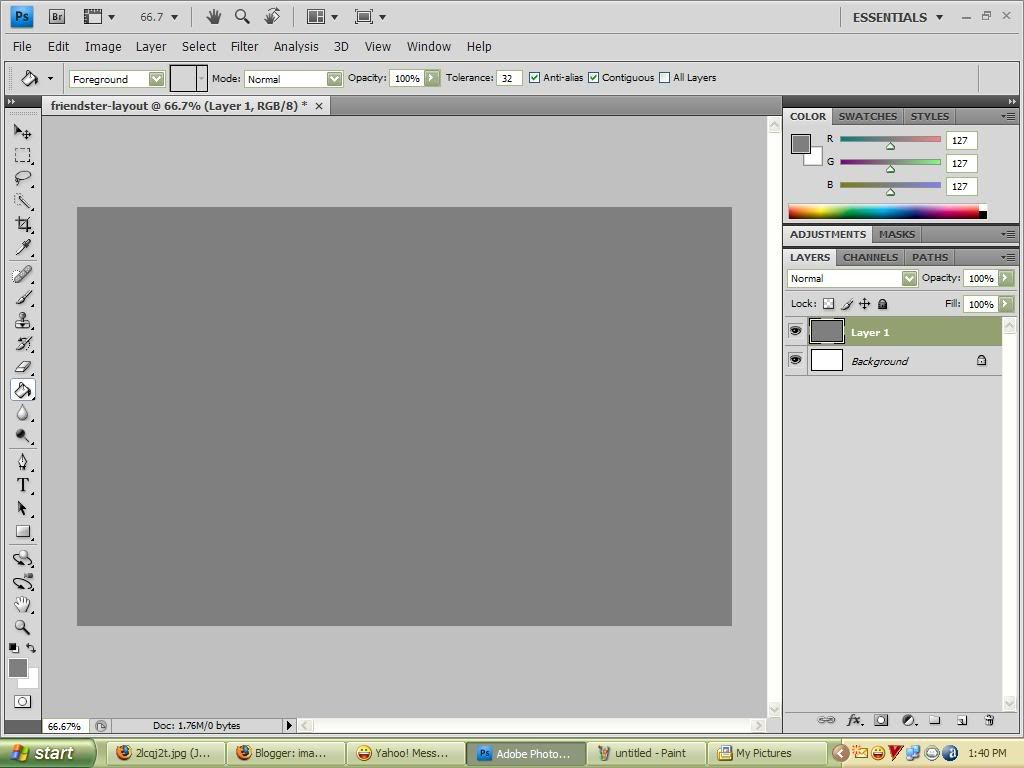
2. Create a new layer and Go the paint bucket tool and
get the color that you want.

your layer should be like this..

♥♥♥click here to see the image♥♥♥

3. Be creative by putting some design that you want
but remember dont make your design over crowded
and every design that you want to put should be at a
new layer.
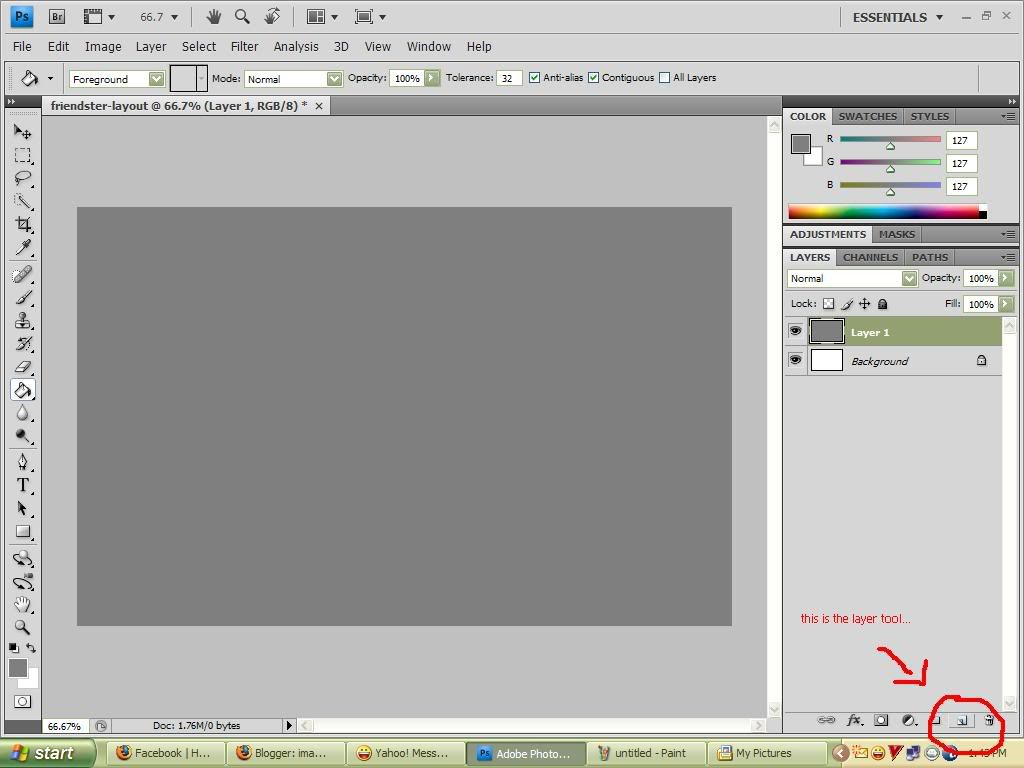
if you dont know where you can see the new layer tool
here it is..

♥♥♥click here to see the image♥♥♥

4.If you are satisfied at your work save it and go
tinypic.com and freecodesource.com
to get the css code and after the editing
some section at freecodesource.
paste it at the CSS section of your profile.....


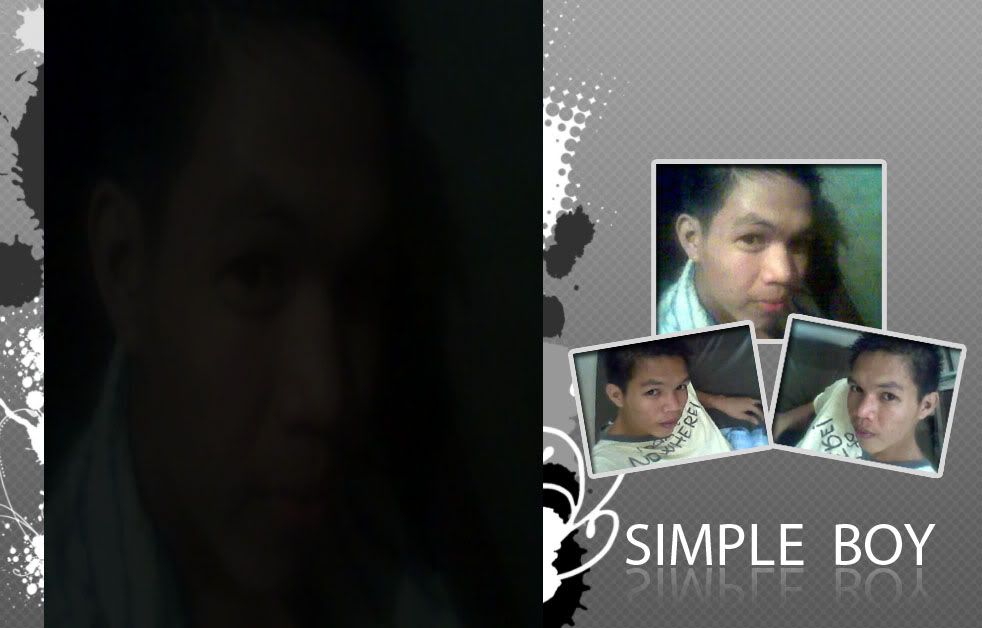
here is my final product


for the boys

♥♥♥click here to see the image♥♥♥

for the girls

♥♥♥click here to see the image♥♥♥


i hope you learn a lot......


back to top