


♥♥♥animation♥♥♥

my friend requested to have a post about animation
using photoshop. As a friend her request i granted.
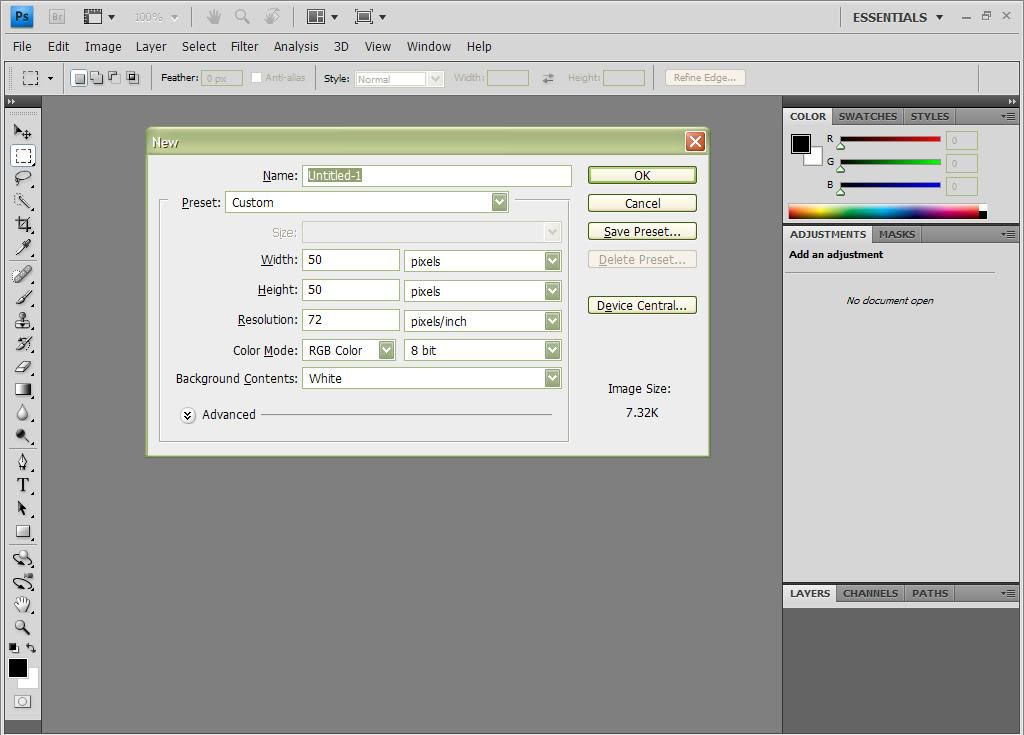
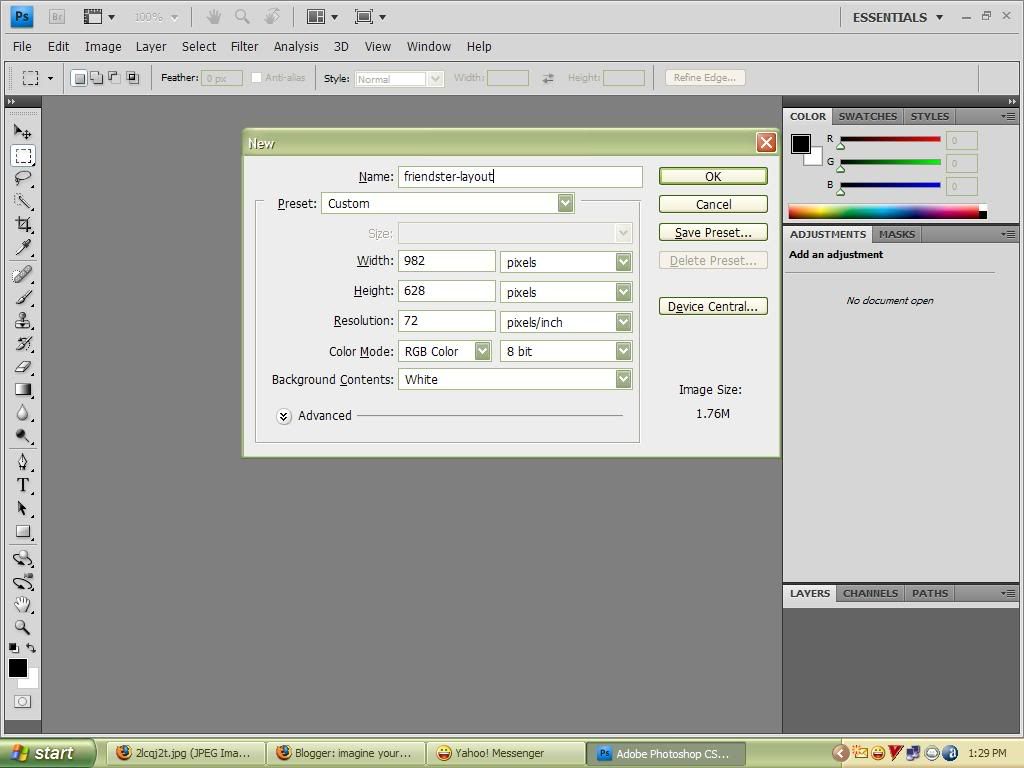
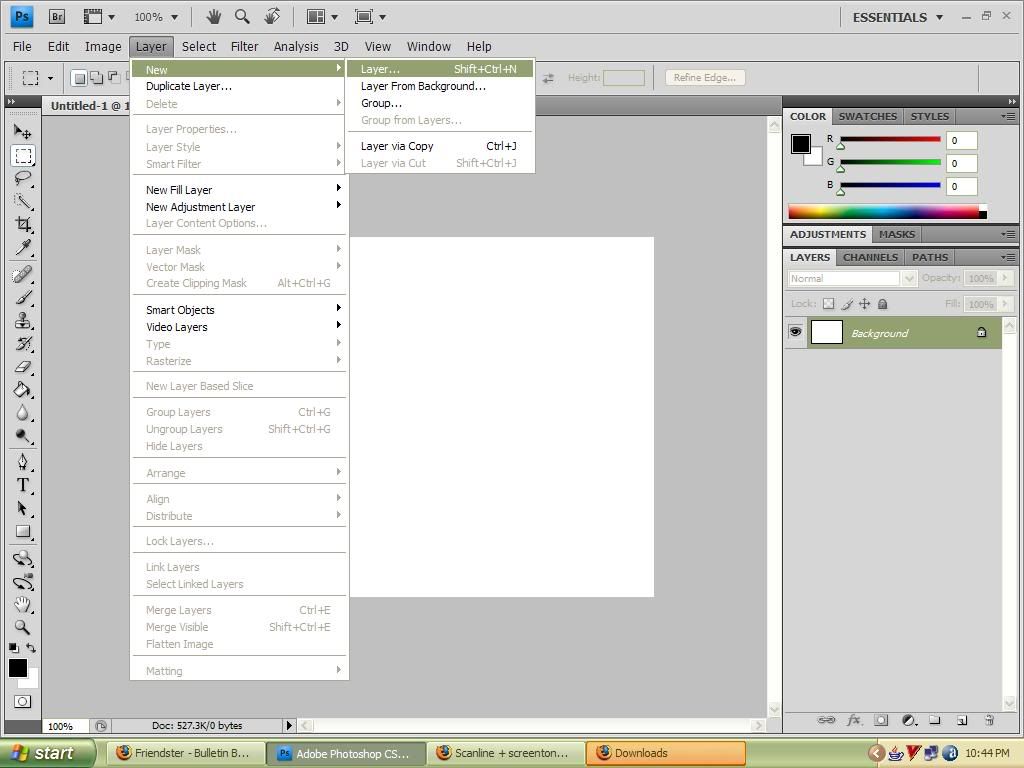
1. Open adobe photoshop and create a new
dpcument with your desire size.
I am going to use 50pixel by 50 pixel.
♥♥♥click here to see the image♥♥♥
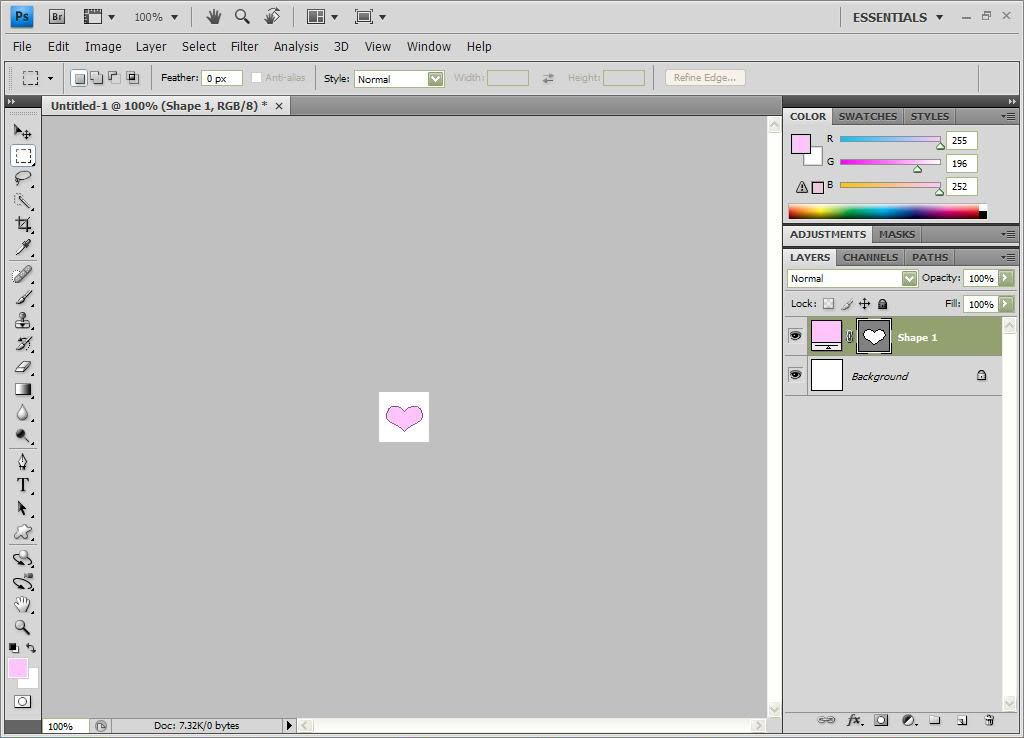
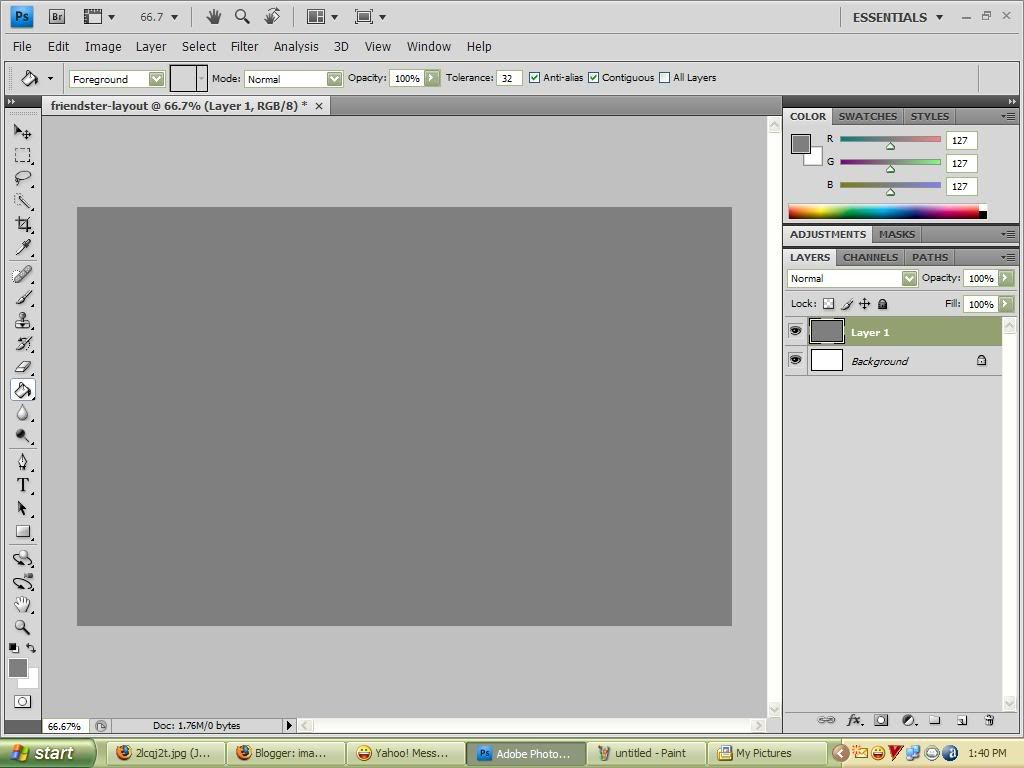
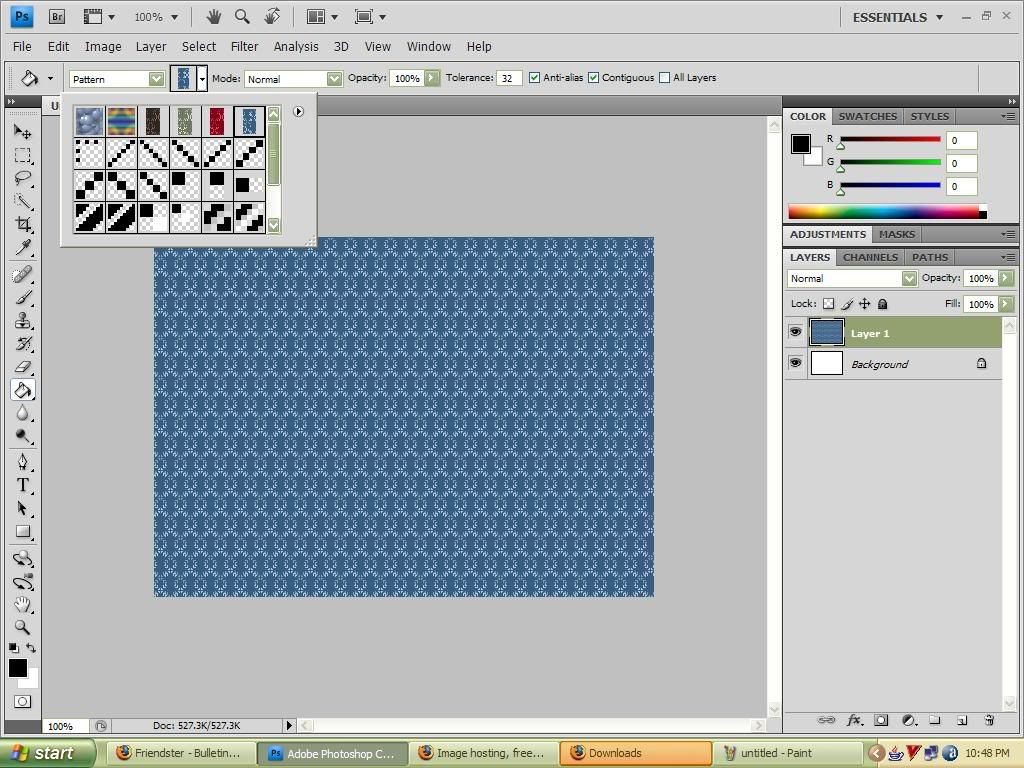
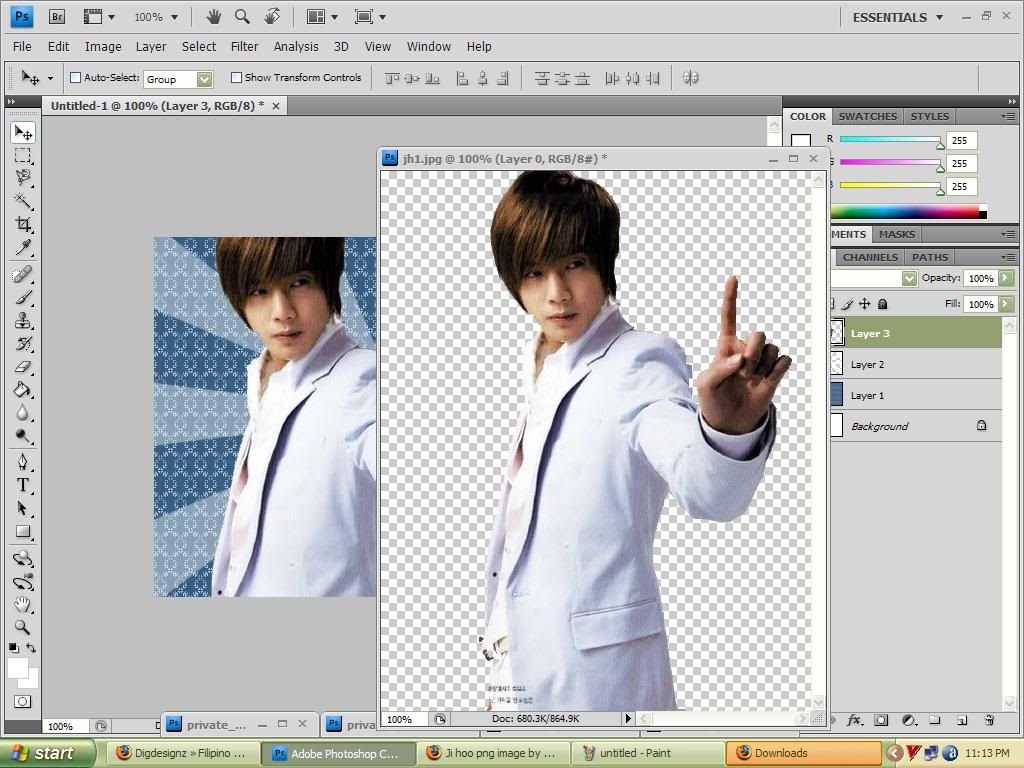
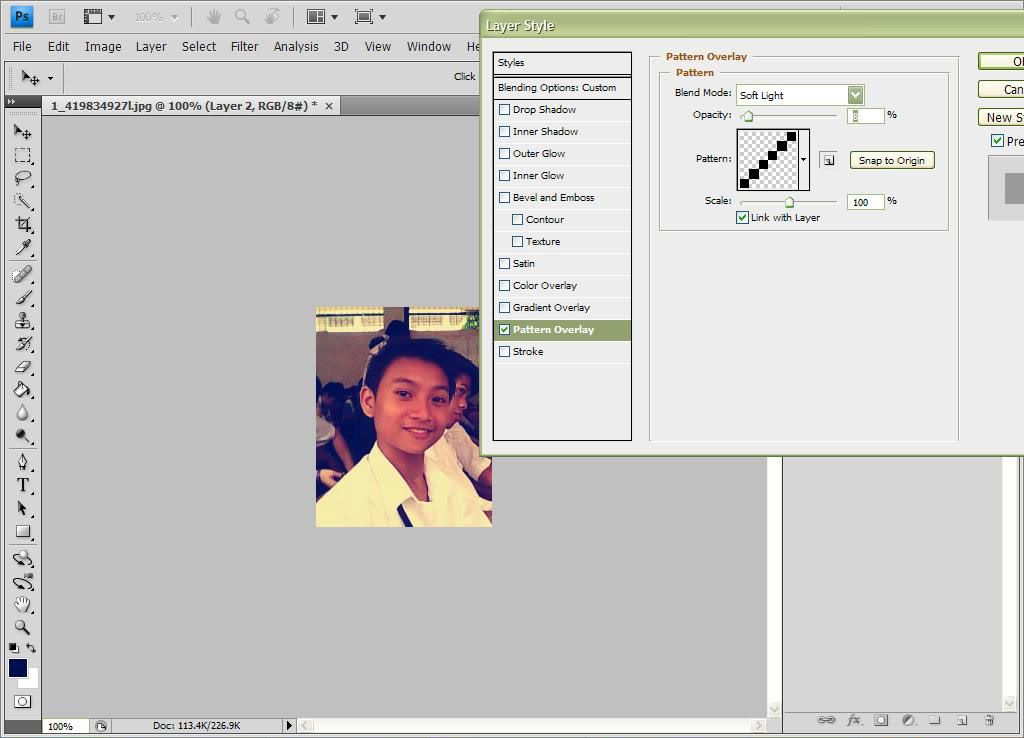
2.Create a new layer and put the design that you want to
apply to your desired document....
♥♥♥click here to see the image♥♥♥
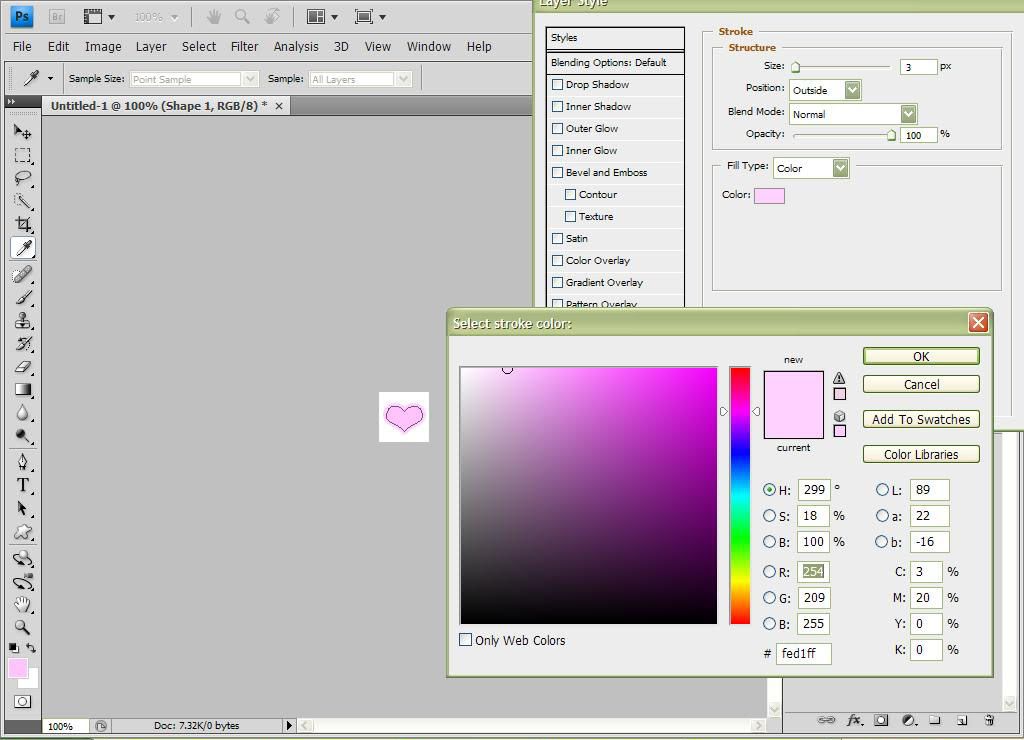
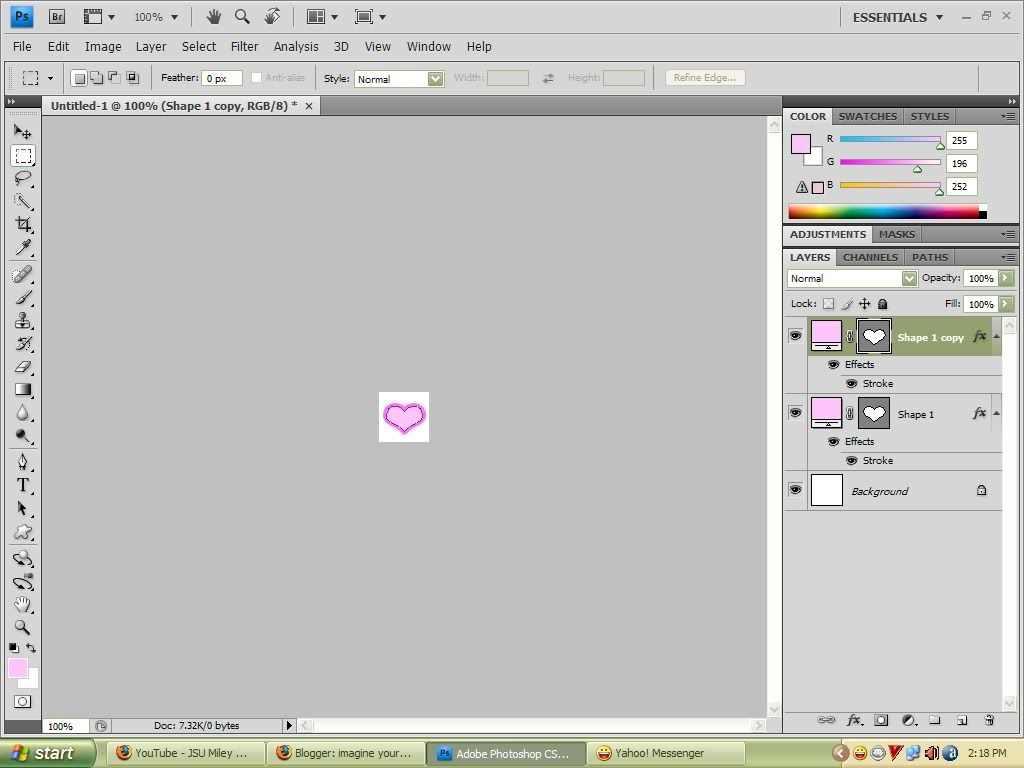
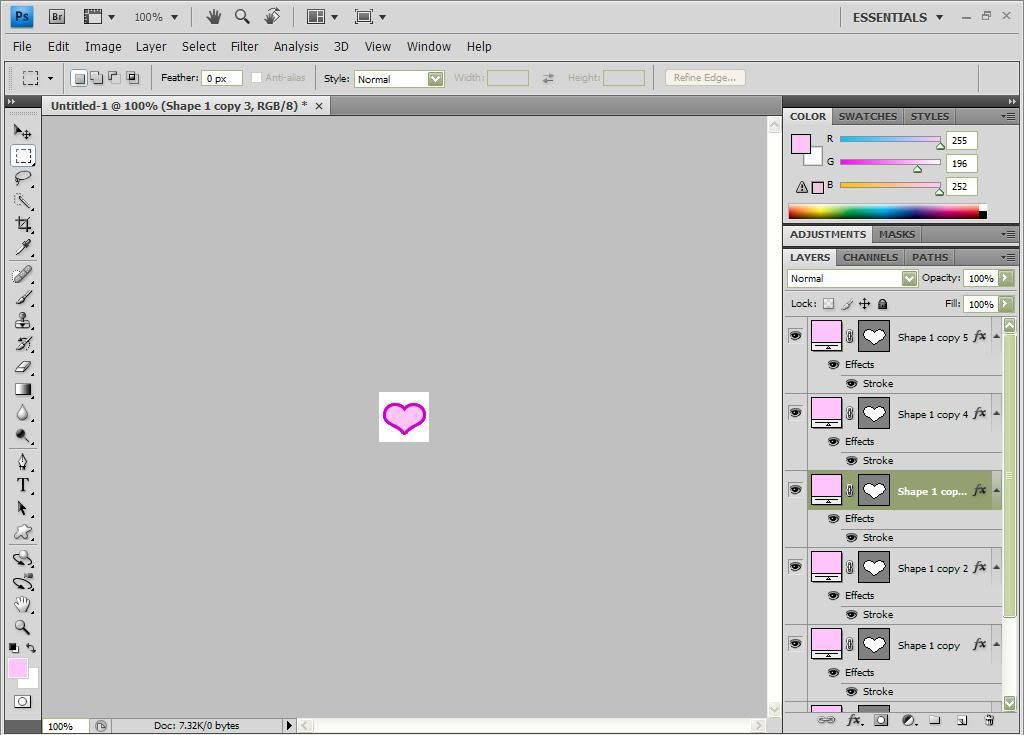
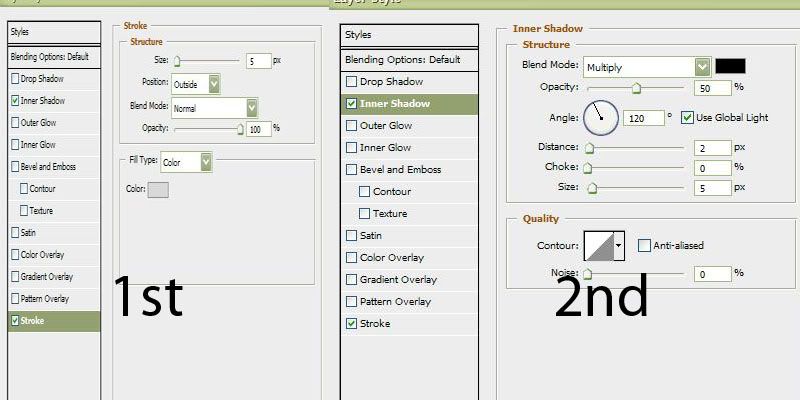
3. Put a stroke at your design with size of 3 pixels.
and duplicate the layer of your design.
Once your design is duplicated change the stroke from
light color to darken color.
♥♥♥click here to see the image♥♥♥
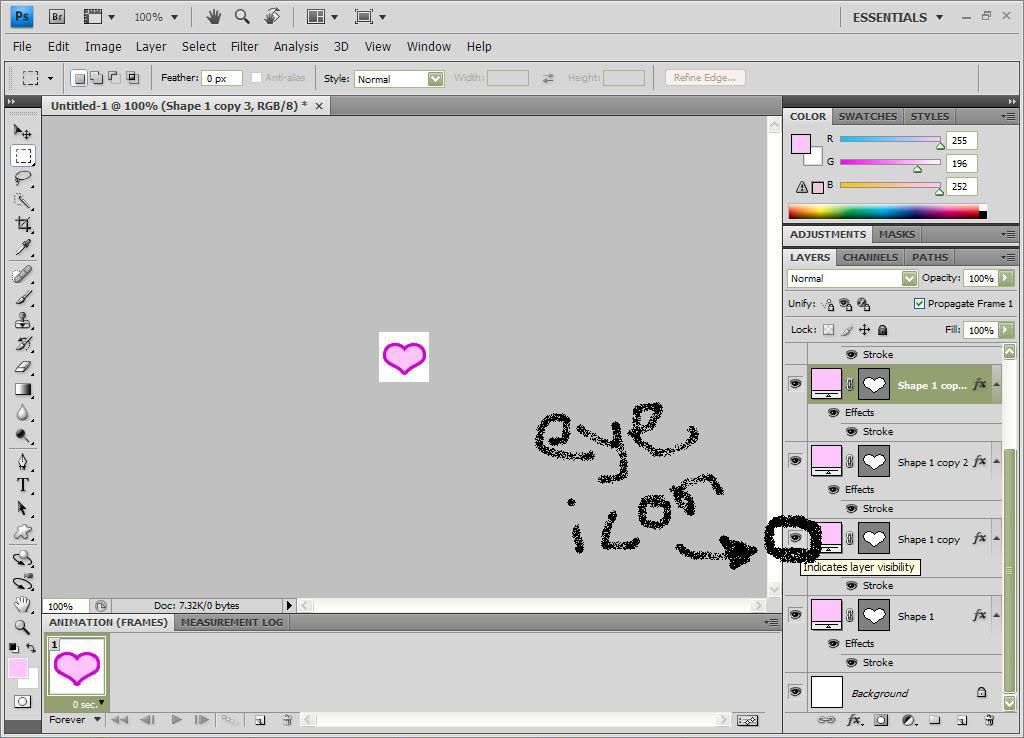
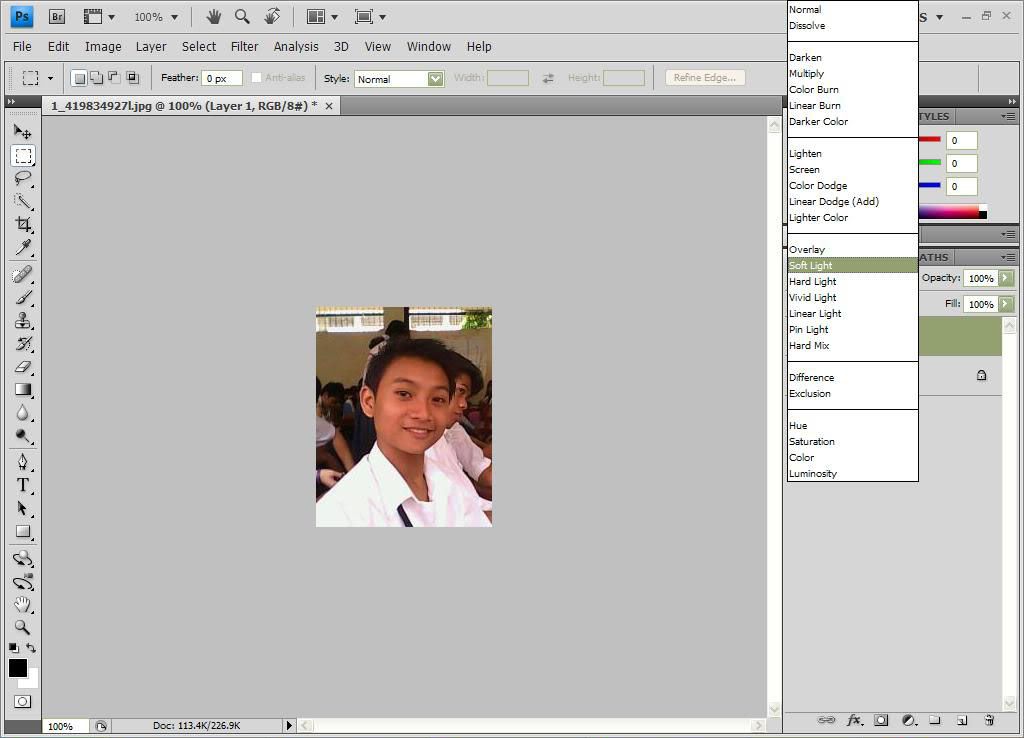
4.Now go to window and click the animation.
Click the eye icon to your layers except at the
first layer.
♥♥♥click here to see the image♥♥♥
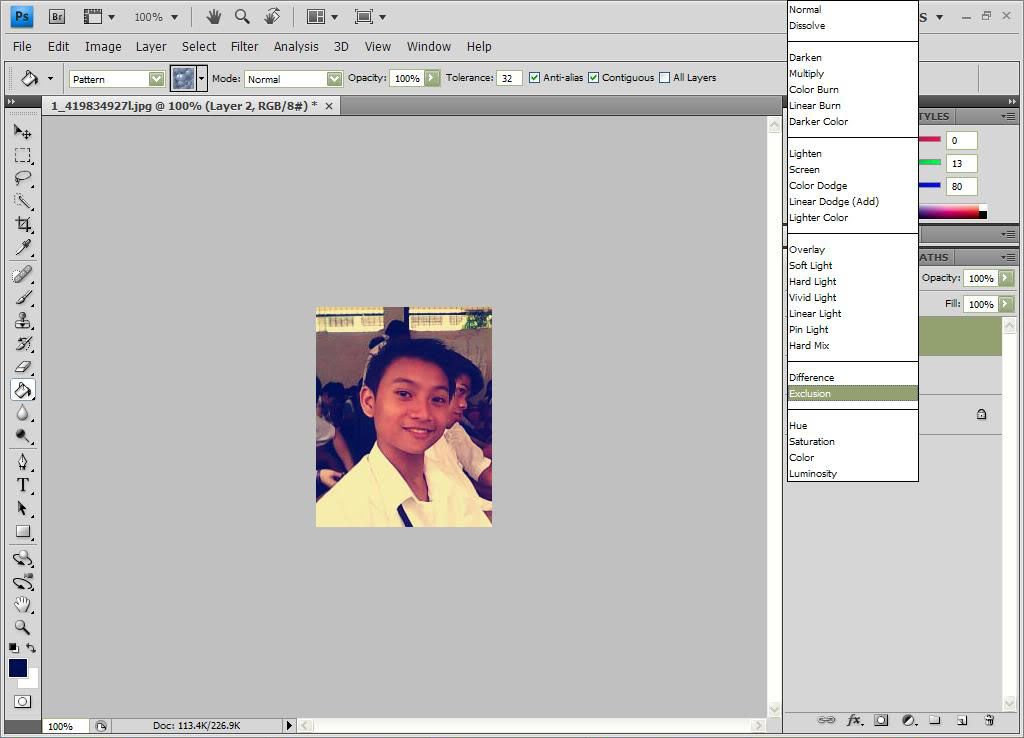
and follow this steps.
1.click here to see the image
2. make the step repeatedly until
you done.
your layer should be like this..
♥♥♥click here to see the image♥♥♥
♥♥♥click here to see the image♥♥♥
♥♥♥click here to see the image♥♥♥
4.to save your animation go to
file>save for web & devices
and hit the save..
♥♥♥click here to see the image♥♥♥
src="http://pagead2.googlesyndication.com/pagead/show_ads.js">

my friend requested to have a post about animation
using photoshop. As a friend her request i granted.
1. Open adobe photoshop and create a new
dpcument with your desire size.
I am going to use 50pixel by 50 pixel.
♥♥♥click here to see the image♥♥♥
2.Create a new layer and put the design that you want to
apply to your desired document....
♥♥♥click here to see the image♥♥♥
3. Put a stroke at your design with size of 3 pixels.
and duplicate the layer of your design.
Once your design is duplicated change the stroke from
light color to darken color.
♥♥♥click here to see the image♥♥♥
4.Now go to window and click the animation.
Click the eye icon to your layers except at the
first layer.
♥♥♥click here to see the image♥♥♥
and follow this steps.
1.click here to see the image
2. make the step repeatedly until
you done.
your layer should be like this..
♥♥♥click here to see the image♥♥♥
♥♥♥click here to see the image♥♥♥
♥♥♥click here to see the image♥♥♥
4.to save your animation go to
file>save for web & devices
and hit the save..
♥♥♥click here to see the image♥♥♥
src="http://pagead2.googlesyndication.com/pagead/show_ads.js">


